Minnoli
Design Guide · Custom Wardrobes

Plan the wardrobe around what must happen every morning.

A wardrobe can look calm outside and still be frustrating inside. Good planning begins with belongings, routines and reach, then moves outward to shutters, finishes and the architecture of the bedroom.

This guide covers the decisions that should be resolved before a custom wardrobe enters production.

Begin a conversation
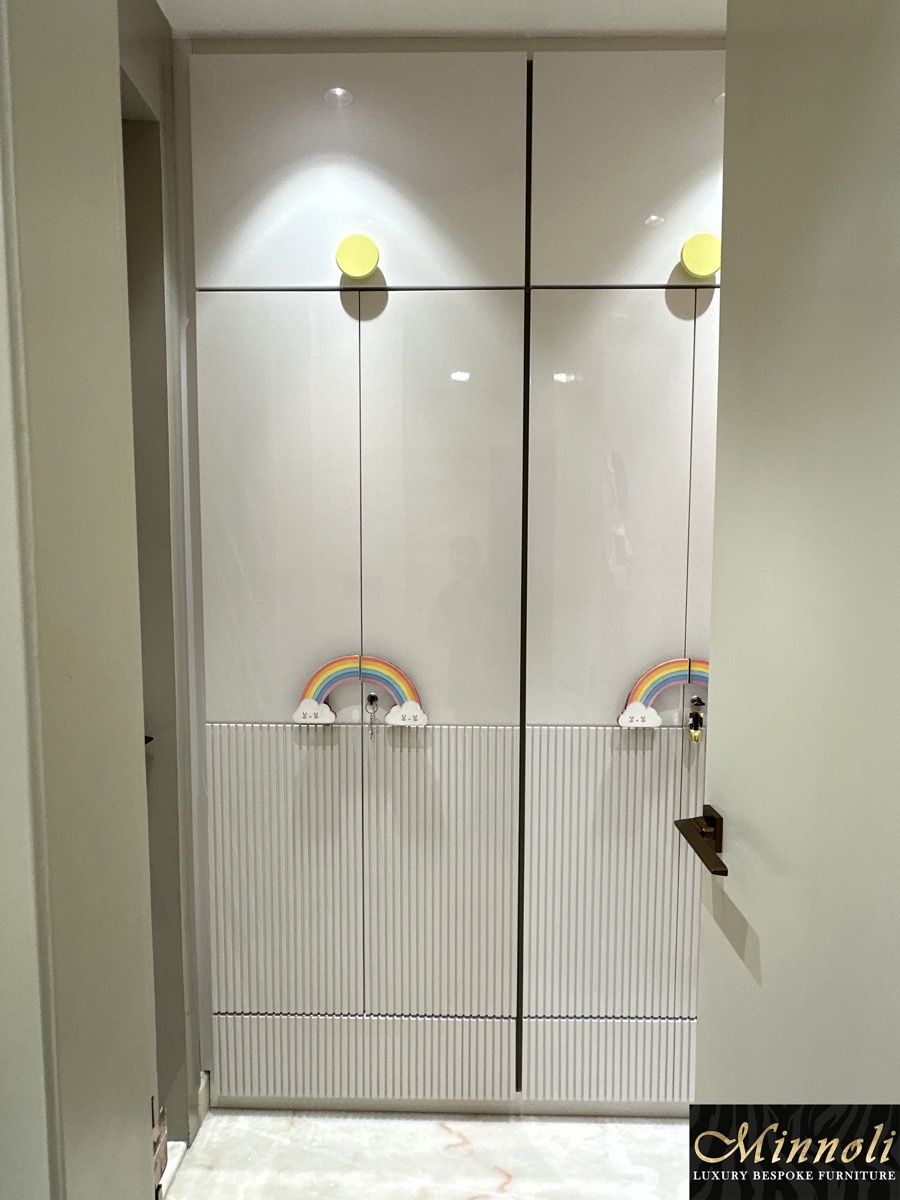
Full-height fluted custom wardrobe made by Minnoli
Custom wardrobe · Full-height fluted composition
22+Years since January 2004
500+Projects completed
100+Craftsmen and specialists
20+Cities served
A considered guide

Inventory before layout

List long and short hanging, folded clothing, drawers, accessories, luggage, shoes, bedding and special items. Separate frequent use from occasional storage and note what should remain visible, concealed or secured.

Internal planning should also account for the client’s height and preferred way of organising. A symmetrical elevation does not require identical storage behind every shutter.

Hinged, sliding or walk-in

Hinged shutters provide full access to one section but need clear opening space. Sliding shutters save that swing area but overlap and require appropriate track and depth planning. Glass wardrobes introduce visibility and light, while walk-in layouts depend on comfortable circulation between storage runs.

The decision should follow the room and use rather than fashion alone.

Coordinate services and connected furniture

Switches, sockets, lighting drivers, air-conditioning, skirting, beams, dressers, mirrors and bedside furniture can all affect wardrobe dimensions. Site measurement and elevation drawings should resolve these relationships before manufacturing begins.
The most successful storage is not the most divided. It is the one whose divisions match real use.

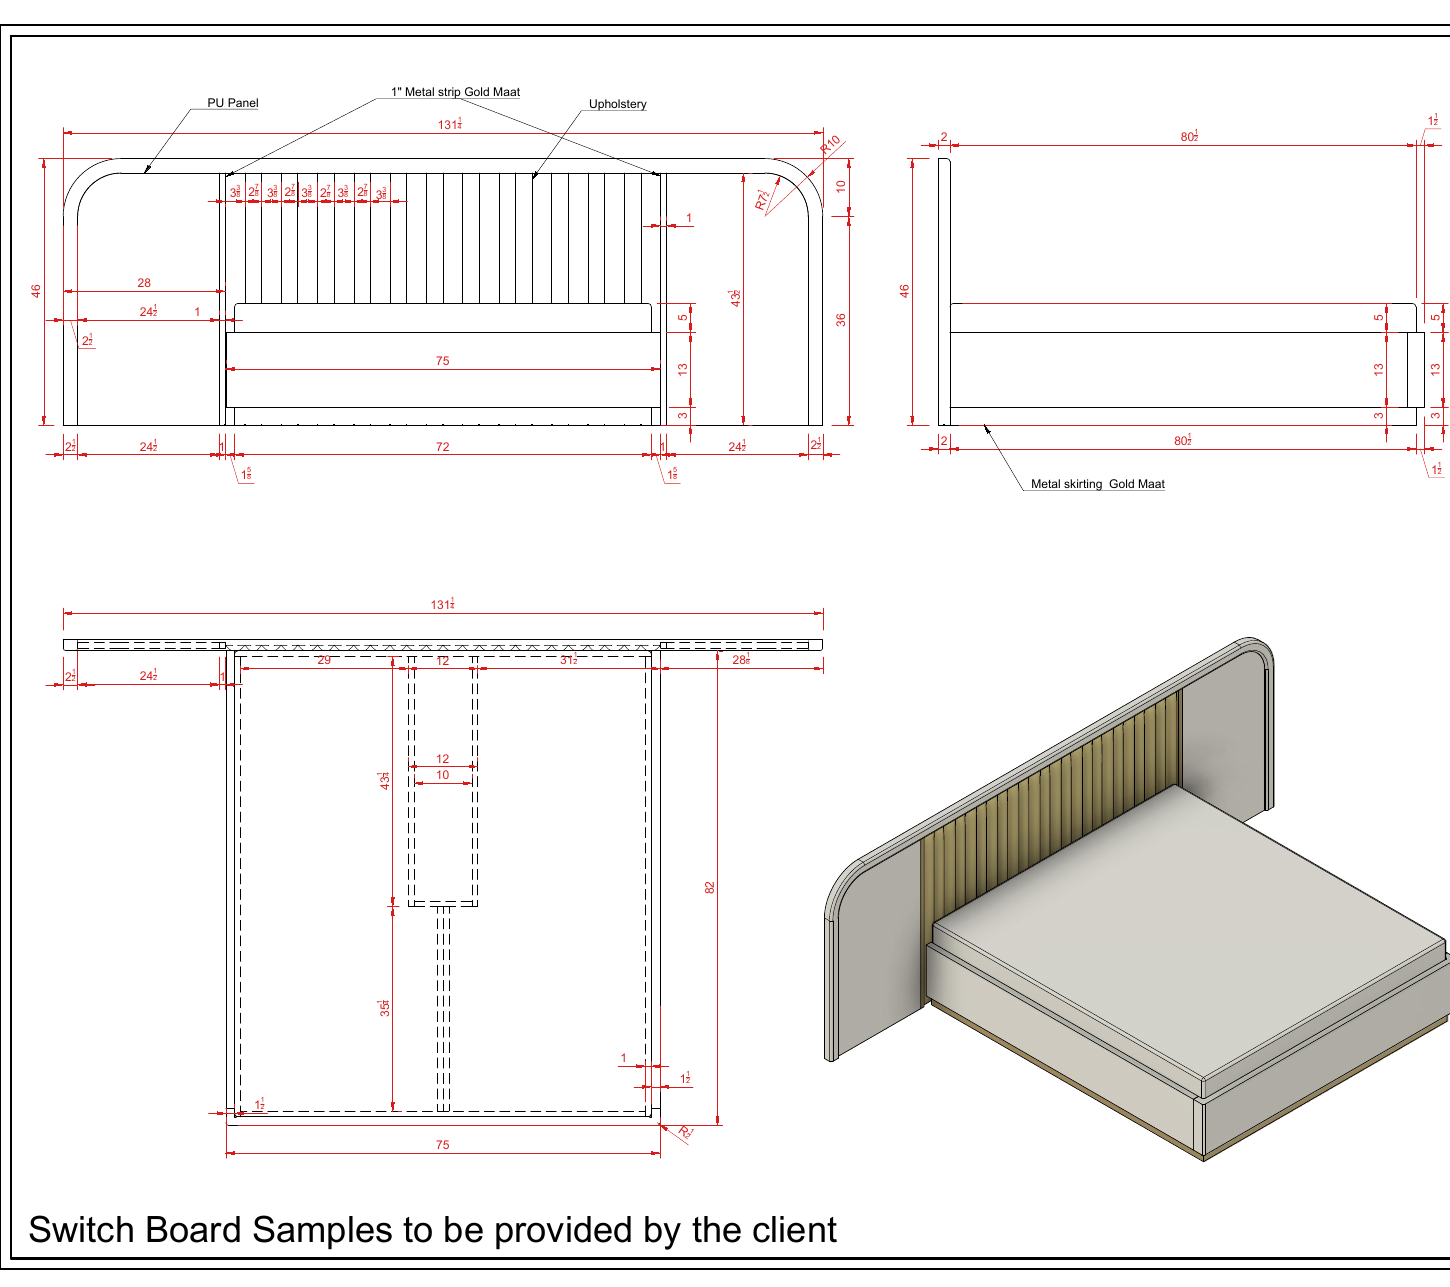
Detailed furniture elevation drawing used for Minnoli production
Detailed drawing · Before workshop production
What a wardrobe drawing should show

The inside, outside and site must be resolved on the same page.

A useful wardrobe package documents internal divisions, elevations, critical sections, shutter movement, finishes, hardware, lighting and site interfaces.

Review the drawing as a routine: where daily clothing goes, where a drawer opens, how a corner is reached and whether two users can move comfortably. That exercise often reveals more than viewing the elevation alone.

  1. 01Hanging and shelf clearances
  2. 02Drawer sizes and accessory storage
  3. 03Shutter type and opening space
  4. 04Handles, profiles and hardware
  5. 05Lighting, mirrors and electrical coordination
  6. 06Site levels, skirting and installation margins
The Minnoli process

A clear wardrobe planning sequence

01

Record belongings

Build the internal requirement from real categories and quantities.

02

Measure the room

Verify walls, levels, services, circulation and access.

03

Select the format

Resolve hinged, sliding, glass or walk-in arrangements.

04

Develop drawings

Coordinate internals, elevations, sections, hardware and finishes.

05

Review before production

Walk through daily use and approve every critical dimension.

Questions clients ask

Clear answers before deciding.

Are hinged or sliding wardrobes better?

Neither is universally better. Hinged shutters offer wider access but need opening space; sliding shutters suit some tighter rooms but overlap and require careful track planning.

How much space is needed for a walk-in wardrobe?

The requirement depends on whether storage is on one or both sides, shutter and drawer movement, islands and comfortable circulation. The layout should be drawn to the actual room rather than based on one standard number.

Can lighting be integrated into a wardrobe?

Yes. Internal lighting can be coordinated with shutter operation, shelves, glass sections and electrical access when planned before production.

What should be finalised before ordering a wardrobe?

Internal storage, overall dimensions, shutter type, finishes, handles, hardware, lighting, site services, access and installation details should be clearly documented.

Create with Minnoli

Bring your floor plan, references and questions.

Visit the Kolkata studio or begin through a detailed conversation with the Minnoli team. We will help you understand the next useful step for your furniture project.

Speak with the studio